


Nivea Vanilla & Macadamia Kiss Lip Butter. After picking up the Kiss of Milk & Honey lip balm for Andrew back while I was on winter break, I decided to give this stuff a chance. Now, I apply it ever single morning and night, and I absolutely love it! In fact, since it's a few dollars cheaper than my all-time favorite Jack Black Lip Balm, I might find myself purchasing this more often. It has kept my lips super hydrated this winter -- well, as hydrated as they can be when I have to walk to school in below freezing weather. I never expected such amazing results from such an inexpensive lip balm, but now I'm hooked! Oh yeah, and it smells amazing.

Macadamia Deep Repair Masque. I talked about this mask back in my Winter Pamper Essentials post, but it's seriously become such a staple in my weekly hair care routine. I use this mask once a week, and that's all I need for some intense hydration! This mask makes my hair feel like I had never colored it in the first place, and that says a LOT, considering how many times I've bleached and dyed and bleached and dyed it. It's also been such a huge help with my current journey of attempting to grow my hair out back to my natural color, since I have a lot less breakage now!

Wet n Wild Color Icon "Comfort Zone" Collection Palette. As you may be able to tell with my use of this palette in two recent tutorials, I really enjoy this palette. My good friend Ciarlene gave it to me back when I was home as a Christmas present, and I can't stop using it! I used it when I went to a post-Christmas Christmas party (for which I took pictures for but never typed up a post about) and I got so many compliments on my eye makeup. For those of you looking for an amazing drugstore neutrals palette -- this is totally the one for you!

Real Techniques Bold Metals 301 Flat Contour Brush. If you read my review on this brush, you'll already know I'm obsessed with it. It feels so luxurious and soft and makes contouring a breeze! If you have the chance and the money, go out to Ulta and buy this brush, I promise you won't regret it. The short, dense bristles make applying and blending out contour shades super easy and quick, and since getting it, I have pretty much looked for every possible excuse to use this brush!
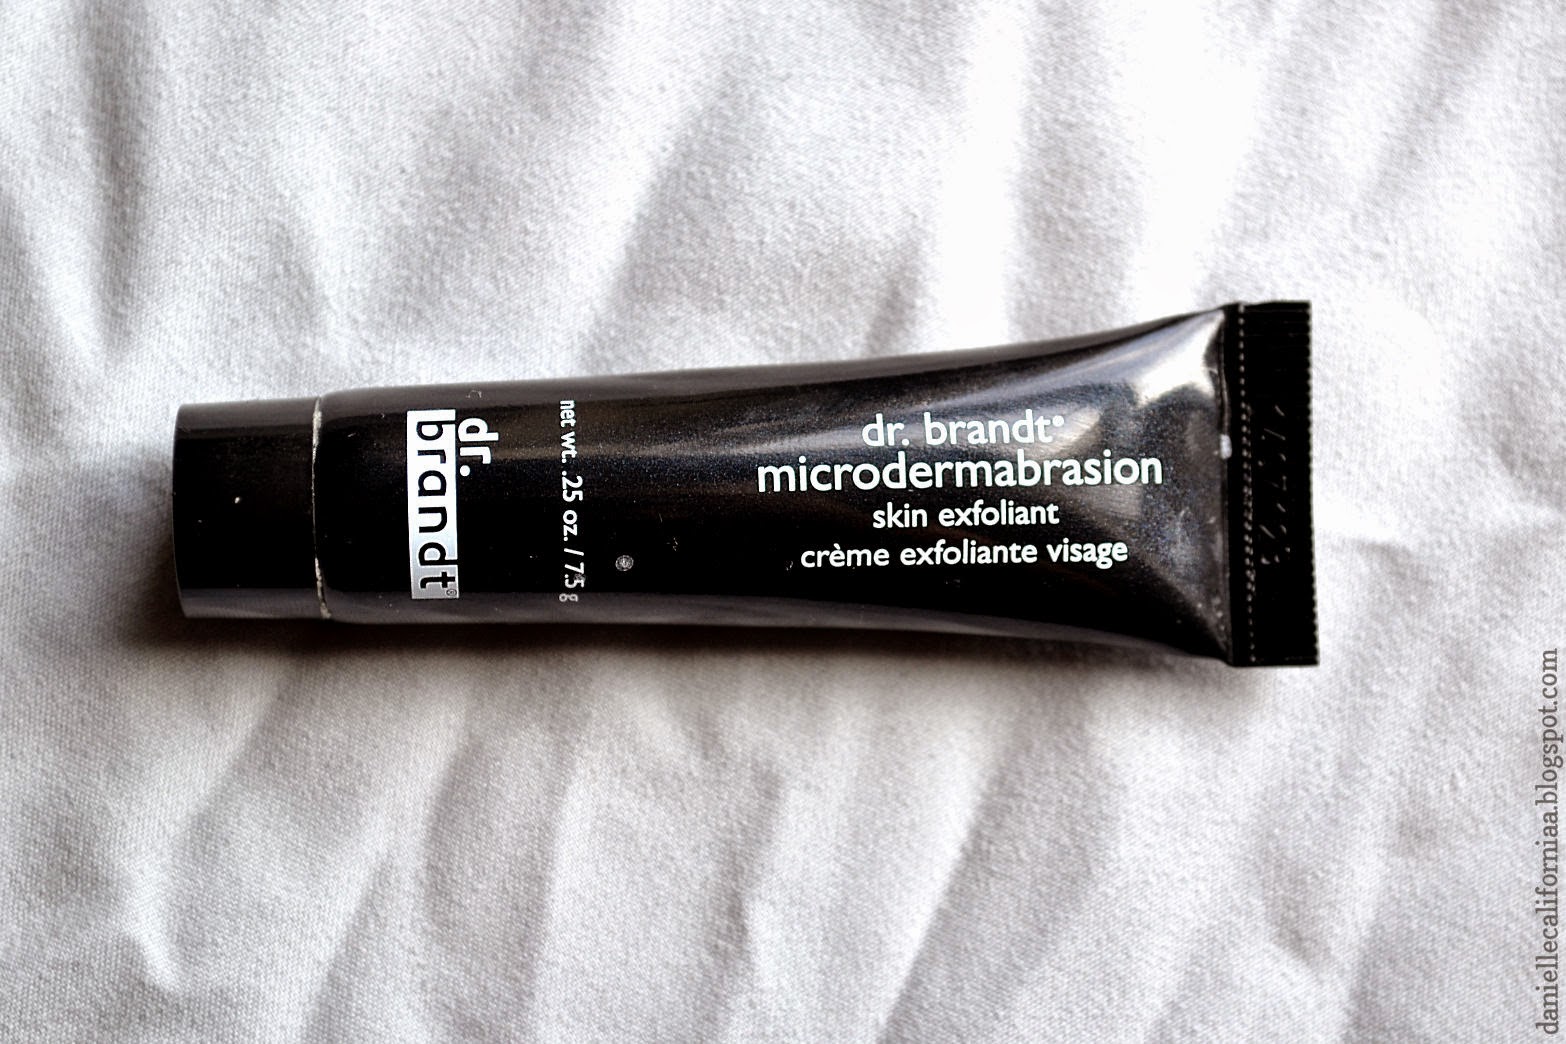
Dr. Brandt Microdermabrasion Skin Exfoliant. I REALLY hesitated about putting this in my winter favorites because it is SO expensive. $78 for the full size of thing. I personally did not buy it, it came in a huge deluxe sample bag that my best friend gave me for Christmas, and the sample I have is about an eighth of what you get if you purchase the full size. However, this microdermabrasion exfoliant is really, really good. It is so finely textured, but it really gets the top layer of your skin off without being overly aggressive, and my skin always feels so incredibly soft after using it! You really don't need very much, so this tiny bottle seems to be lasting me quite well! Do I have $78 to be spending on a full bottle of this exfoliant? Heck no. Would I spend the $78 if my budget allowed me to? Yeah, probably. It's that good.

Milani Bella Eyes Gel Powder Eyeshadow -- Bella White. For a pale girl like me, I can never quite find the right matte highlight for right under the brows. Turns out, I need a white eyeshadow to do the trick! I've been using this in quite a few of my recent tutorials, and I have been absolutely loving using this shadow as a highlight! When applied with a fluffy brush, it gives just a subtle highlight to the brow bone without being so obvious that I used just a straight up matte white. Then again, I'm crazy pale, and definitely need such a light color to really get the job done.

Maybelline Fit Me Concealer. I know this concealer has gotten a lot of hype in the makeup community recently, being noted as a pretty dead on dupe for the NARS Radiant Creamy Concealer. I bought it while on the hunt for a replacement for my Rimmel Wake Me Up Concealer (which I no longer need, thanks to Andrew). It's a total gem. It's just the right amount of coverage for the majority of my spots, especially considering I don't wear much makeup on a day-to-day basis, and because it's definitely a creamier concealer, it isn't super drying. My blemishes tend to get kind of dry and flaky, and this concealer does a great job of hiding them without making the texture even worse!

Yes To Cucumbers Soothing Daily Calming Moisturizer. After running out of my long time favorite moisturizer by First Aid Beauty, I finally decided to go back on the hunt for a new moisturizer. I wanted something more affordable, since the one by FAB was $24, so I hit up my local drugstore and found this! It comes in very similar packaging to the moisturizer I loved before, but it is a bit thicker and really hydrates my dry skin! The best part is, it's totally comparable to the FAB moisturizer, for about $10 less!
That's it for this season's favorites! I'm so excited for spring, I'm absolutely dying for it to warm up. Hurry up, spring, I'm waiting for you!
- D.
Real Techniques Bold Metals 301 Flat Contour Brush. If you read my review on this brush, you'll already know I'm obsessed with it. It feels so luxurious and soft and makes contouring a breeze! If you have the chance and the money, go out to Ulta and buy this brush, I promise you won't regret it. The short, dense bristles make applying and blending out contour shades super easy and quick, and since getting it, I have pretty much looked for every possible excuse to use this brush!
Dr. Brandt Microdermabrasion Skin Exfoliant. I REALLY hesitated about putting this in my winter favorites because it is SO expensive. $78 for the full size of thing. I personally did not buy it, it came in a huge deluxe sample bag that my best friend gave me for Christmas, and the sample I have is about an eighth of what you get if you purchase the full size. However, this microdermabrasion exfoliant is really, really good. It is so finely textured, but it really gets the top layer of your skin off without being overly aggressive, and my skin always feels so incredibly soft after using it! You really don't need very much, so this tiny bottle seems to be lasting me quite well! Do I have $78 to be spending on a full bottle of this exfoliant? Heck no. Would I spend the $78 if my budget allowed me to? Yeah, probably. It's that good.
Milani Bella Eyes Gel Powder Eyeshadow -- Bella White. For a pale girl like me, I can never quite find the right matte highlight for right under the brows. Turns out, I need a white eyeshadow to do the trick! I've been using this in quite a few of my recent tutorials, and I have been absolutely loving using this shadow as a highlight! When applied with a fluffy brush, it gives just a subtle highlight to the brow bone without being so obvious that I used just a straight up matte white. Then again, I'm crazy pale, and definitely need such a light color to really get the job done.
Maybelline Fit Me Concealer. I know this concealer has gotten a lot of hype in the makeup community recently, being noted as a pretty dead on dupe for the NARS Radiant Creamy Concealer. I bought it while on the hunt for a replacement for my Rimmel Wake Me Up Concealer (which I no longer need, thanks to Andrew). It's a total gem. It's just the right amount of coverage for the majority of my spots, especially considering I don't wear much makeup on a day-to-day basis, and because it's definitely a creamier concealer, it isn't super drying. My blemishes tend to get kind of dry and flaky, and this concealer does a great job of hiding them without making the texture even worse!
Yes To Cucumbers Soothing Daily Calming Moisturizer. After running out of my long time favorite moisturizer by First Aid Beauty, I finally decided to go back on the hunt for a new moisturizer. I wanted something more affordable, since the one by FAB was $24, so I hit up my local drugstore and found this! It comes in very similar packaging to the moisturizer I loved before, but it is a bit thicker and really hydrates my dry skin! The best part is, it's totally comparable to the FAB moisturizer, for about $10 less!
That's it for this season's favorites! I'm so excited for spring, I'm absolutely dying for it to warm up. Hurry up, spring, I'm waiting for you!
- D.


