menu

Thursday, January 2, 2014

REVIEW: Anastasia DipBrow Pomade

Recently, Anastasia Beverly Hills, known for their incredible brow products, released a new product that caught my eye: DipBrow Pomade. Their website says, "Waterproof brow color ideal for sculpting, defining, and carving perfectly precise brows that won’t fade. Smudge-free, creamy formula glides on skin and adheres to hair. Must-have for oily skin and humid climates. Tighten cap to prevent drying."

Now, I don't typically have oily skin, but I do have oily lids, and I am a sucker for anything that claims to be waterproof, long-wearing, and smudge-proof. It also claims to be non-comedogenic. So when I first heard about this product, I decided I wanted to give it a try! I purchased the shade "Dark Brown," which is a neutral-toned brown.


The package arrived in a bright metallic blue bubble wrap envelope, and inside was the product as well as a travel size of their Clear Brow Gel. While I'm typically not the type of girl to complain when given free stuff (or not given free stuff), I would have very much liked to see even just a cheap little mini angled brush or something. It would have been convenient for anyone who doesn't already have a brush. However, onto the product itself!


In the "before" photo, you can see my naked brows. In the "after" photo, you can see my brows when the product has been applied. I used a synthetic angled brush to apply the product. Now what I discovered instantly is that a little bit goes a very long way. I love thick and defined Cara Delevingne-esque brows, but you definitely don't need a lot of product to fill in your brows. Now I decided to put it to the work day test.

I had a pretty normal work day, but my skin tends to get rather oily when I'm at work because of the air conditioning. Because of that, I usually find that my makeup tends to fade a lot, and I get very shiny. At the end of my day, about 7 hours later, I came to find that I looked like this: 


Why, yes, I am totally aware that I look like a hot mess. However, despite the oily face, my brows are still defined and in tact! 

I was going to just post these findings and give my review based on a normal work day, but then I decided I should really put it to the test. Some of my best friends and I went to a place in my city called Belmont Park, which is basically just a little boardwalk amusement park at Mission Beach. We first went to Belmont Park, and rode a few rides and played some games, then we went to the beach. We were probably there for a total of about 6 hours, but then we went over to one of my friend's houses and hung out in their jacuzzi for a good hour or two. After that, we went into her house and ate and watched a movie. I was out and about for 11 hours. 

Here is what I looked like at 10 AM...
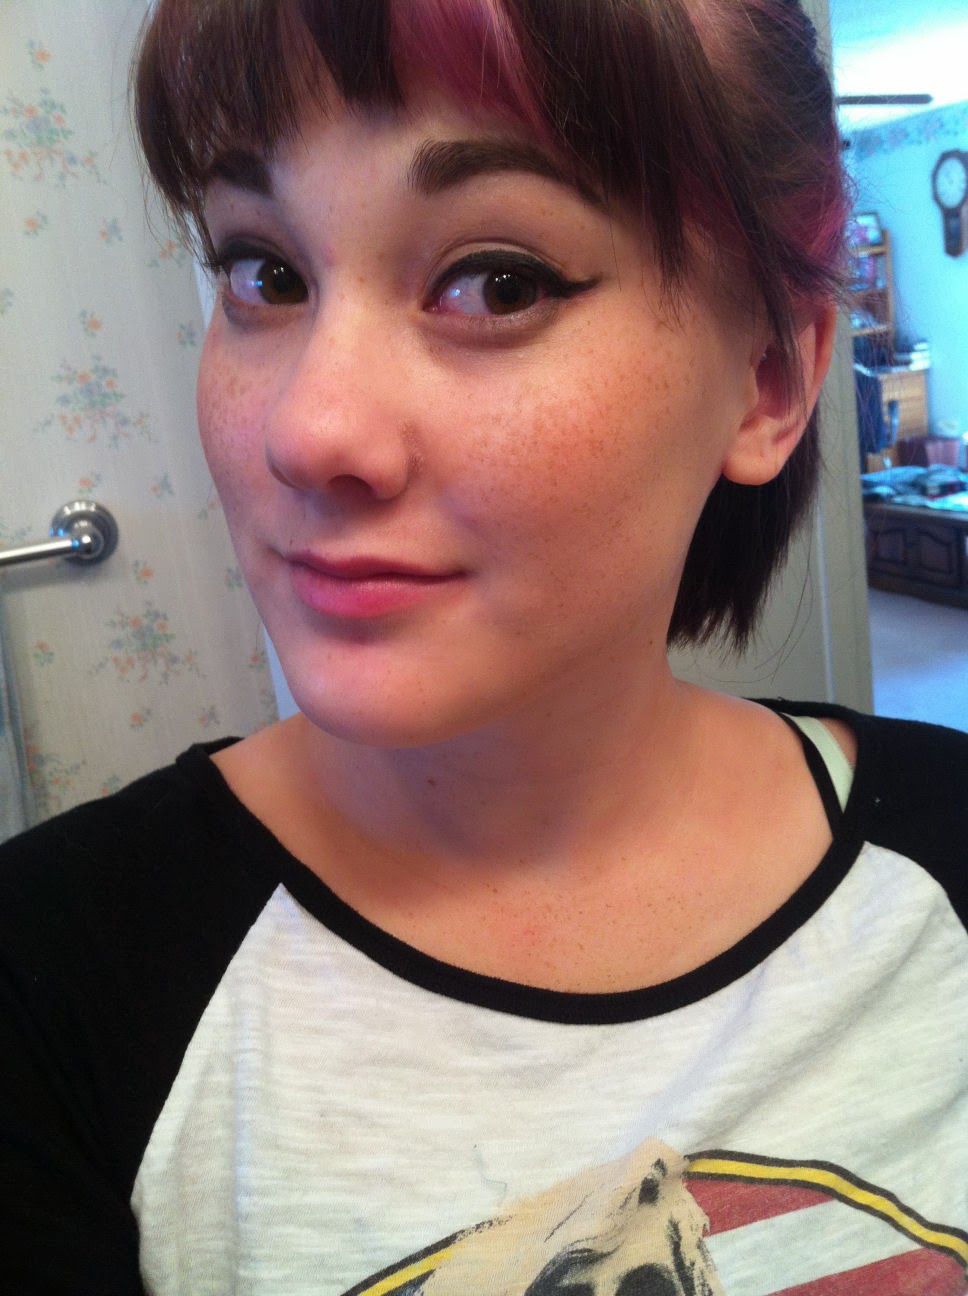

And then again at 9 PM...


I think my brows still look pretty good after 11 hours against the sun, wind, and water! When I swatched the product on my arm, I let it set for about 30 seconds, and did a rub down test.

Swatched with dry hands.

After some really vigorous rubbing with wet hands.

And more vigorous rubbing, this time with my Sephora Collection Cleansing Water on a cotton ball.

All in all, I'd say I'm pretty impressed by this stuff! It holds up really well in some crazy conditions, and I would definitely trust this product to last. I would probably suggest using an oil-based makeup remover to get it off though, because I was rubbing my arm raw when I was trying to get it off with the cleansing water. Trust me, when I say "vigorous rubbing," I really was trying my best to get it off! 

As of right now, this product is only available online, at Anastasia.net, Sephora.com, and Ulta.com. On all three websites, it runs for $18, and I think it'd definitely worth the price, especially because you get a substantial amount of product! From what I've read, it should be released in stores in January 2014, so keep an eye out for it! 

- d. 

Tuesday, December 31, 2013

Face and Outfit of the Night -- Happy New Year!

I hope you are all having a safe and wonderful New Year's Eve! I'm about to leave to go to a party, but I thought I would type up a quick blog post about what I'm wearing out tonight.


I found this cute, basic black dress on clearance at Target. I'm not sure why it was on clearance in store, but full price online, but I have a feeling I will definitely be wearing this dress a lot more often. My belt belongs to my best friend, and I've worn it in my last two OOTDs. My opaque black tights are also from Target, and since they are thick, they are more resistant against tearing! I bought these amazing 5" platform booties from David's Bridal, when I was working there as a dress specialist. They are from the White by Vera Wang collection and are the most comfortable heels I have ever worn! 


Now onto the face! For my eyes, I chose to do a golden cranberry smokey eye, using my Coastal Scents 252 Ultimate Palette. I took an antique gold shade all over my lid, and black in the crease. Then, using purple and cranberry colors, I blended the edges to create a flawless look. On my lips I'm wearing the Milani Color Statement Lipstick in "Sangria"! 

Also, just a quick note. The iron I used for my hair was a BaByliss Pro Porcelain Ceramic 1/2" Marcel Iron. I got this curling iron while in beauty school and I have to say, it has become my most favorite thing for curling hair! Take some time to learn to properly curl your hair. There is a proper technique. Using proper curling technique not only will give you beautiful, shiny, long-lasting curls, but will help save the ends of your hair from so much damage.

That certainly was quick! Now I'm off to meet up with my boyfriend before heading off to a party. I hope you all have a very happy new year. Be safe, and enjoy! 

- d.

Sunday, December 29, 2013

Johanna Mason's Tribute Parade Look

This look is from the scene where Johanna gets a bit risque! I've been told a few times that I remind people of Johanna Mason, and I hope that's true, because Jena Malone is absolutely gorgeous. It was incredibly hard to find a decent photo on the internet, other than gifs from Tumblr. However, I did manage to get a few decent shots to help me create this look.


This look was so fun to create! I primarily used the Too Faced Shadow Insurance Policy Collection. This look is all about her crazy art liner and her brows. Johanna is from District 7, lumber, which is obviously what inspired this look. 


To start, I used my Too Face Shadow Insurance Primer (not photographed) all over my lid, up to the brows. Then, I started work on my brows. Using a synthetic angled brush and my new Anastasia DipBrow Pomade in "Dark Brown," I very intensely filled in my brows. Naturally, my brows don't go in very far, so I extended the inner parts of my brows till they met the sides of my nose. I took the same angled brush and began to line the sides of my nose, stopping near the inner corner. From here, I blended the product inward, keeping the intensity near the brows. This contouring is what created the drama in Johanna's look.


Moving onto the shadows, I used a flat shader brush and packed "Lucky Charms" onto the lower half of my lid. Then, I wiped off my brush and took "Socialite" from where "Lucky Charms" ended, up to the brow. "Lucky Charms" is a very true, shimmery green, and "Socialite" is a beautiful copper shimmer, both of which are perfect for this look. After I applied "Socialite," I went back in with "Lucky Charms" and patted it over the line between it and "Socialite," to begin to blend it. All the shadows in this palette blend together beautifully, and "Socialite" and "Lucky Charms" are no exception. I made sure to also blend "Socialite" into the bridge contour, to create a seamless finish. Finally, I took "Glamazon" on the inner corners, as well as Rimmel's Scandaleyes Waterproof Kohl Liner in "Nude" on the lower waterline. 


From here, I had a choice. I could either do my face makeup and risk messing it up while doing the liner, or do my liner and risk messing it up when I did the face makeup. I felt that the face makeup would be easier to fix, so I applied my foundation with a flat foundation brush. I used the flat foundation brush today because I wanted to make sure to create a nice crisp highlight on the bridge of my nose. I concealed any blemishes or redness using my Urban Decay 24/7 Concealer Pencil, which I also used on the bridge of my nose for even more coverage. Then, I set it all with my Revlon Photo Ready Translucent Finisher, and contoured with my Inglot 358 Matte shadow. 


From here, it was time to tackle the liner. First, I used my Maybelline Eye Studio Lasting Drama Gel Eyeliner on a precision artist's brush to create the line on my upper lash line. I also used to it map out my "branches." I began my branches the way I would any other winged liner, only for this look, I brought it all the way up past my brows, and into my hairline. Then, I took my L'Oreal Carbon Black Lineur Intense and traced over the line, using short strokes. The key to creating the branches is short strokes, because you will drive yourself absolutely mad otherwise. Trust me, I tried. I used the photo of Jena Malone on the right to help find the right design of the branches, and I noticed that they followed the contours of her temple. 

Finally, the lashes. I honestly am not sure which lashes I used for this look, because they were in an older container with no label. However, I think they may have been the Ardell Fashion Lashes 102 Black, which I trimmed to create more of an accent lash. Johanna does not seem to be wearing heavy lashes on the inner corners, but they get thick and voluptuous on the outer corners. Any kind of accent lashes would be great for this look. I then used my lash curler to fuse the lashes with my natural lashes, and my Maybelline The Mega Plush Volum' Express Mascara on the inner corners and lower lashes, to keep them well-blended and naturally dramatic.

As for her lips, they look very natural, with a slight gold sheen. So I applied a lip balm, and dabbed Maybelline Eye Studio Color Tattoo Metal cream shadow in "Gold Rush" all over my lips, and I was done!


- d.